Building Your Video Podcast Studio Setup
Contents
Whether you're an active or aspiring podcaster, it simply makes sense to add a video element to your show. Building a YouTube podcast setup opens your content to a massive audience as it has2 billion logged-in users as potential viewers for your content.
Fortunately, only 17% of podcast hosts record their episodes in both audio and video format, so there’s still room to make a name for yourself.
But if you want to produce video podcast content, you need more than a laptop and a microphone. You need to spend some time - and a bit of cash - getting the right gear and building your video podcast studio setup.
Your Show’s Format
When planning your YouTube podcast studio setup, consider which format works best for your content and budget. Your first step is to decide on a format for your video show:
Solo recording: Just you in front of the camera. You can stand or sit in a chair or at your desk.

Group recording: Multiple people on camera and in the same room, including co-hosts and guests.

Remote recording: Multiple people, but each in their own recording space. Video is captured with remote recording software.

Of the three formats, a remote podcast is the least expensive. Your studio only consists of the narrow space in the camera’s frame.
The group podcast is undoubtedly the most expensive to film. You need a bigger space for multiple people, a microphone for each person, lighting so everyone looks good, and - if you want great production value - a few cameras.
Your Podcasting Gear
The bare minimum you need to record a video podcast is a computer, tablet, or laptop with a built-in microphone and camera. Most devices come with these tools, so you probably have them already.
That said, the quality of those built-in devices leaves a lot to be desired, so we strongly recommend picking up some specialty podcast gear to raise the quality of your production. You can spend a lot of money on podcasting gear, but you don’t have to.
Let’s walk through the equipment you need for your video podcast studio setup:
Microphone
Your microphone is the most important piece of equipment. If you only buy one piece of gear, it should be a podcast-quality mic.
The most affordable microphone that’s suitable for content creation is the Samson Q2U. This is a versatile mic with decent quality and it plugs right into your computer via USB so there’s no need for any more equipment.
Another affordable option is the Audio-Technica ATR2100x. It offers both USB and XLR outputs, so it will work with an audio interface or mixer (if you ever go down that route).
The Rode NT-USB is a bit pricier, but offers exceptional audio for its price point. Its large-diaphragm condenser capsule captures detailed and clear sound.
But in my opinion, the best podcasting mic is the Shure SM7dB. At around $500, it’s pricier than most new podcasters want to spend, but this device is worth twice the price.
The Shure SM7B is one of the most popular mics in the podcasting industry. Once you see it, you’ll start to notice it in video podcasts of the world’s biggest shows.
Headphones
The next piece of equipment to buy is a good set of headphones. You need to be able to hear your own voice exactly as the audience will hear it. Over time, you’ll learn to modulate your voice so you require less post-production work.
When you look at headphones, consider portability, comfort on your head, sensitivity (how loud they are in your ears), and frequency response (flatter frequencies - between 20Hz to 20,000Hz - mean clearer audio).
Also consider whether you want open-back or closed-back headphones. Open-backed headphones have more natural audio, but only in soundproof rooms without ambient noise. If you need to seal out some sound, opt for a closed-back model.
Finally, you’ll have to consider if you want wired or wireless headphones.
Wired headphones: Generally more reliable and there’s no risk of interference of signal loss. But they are inconvenient to use, especially if you move around a lot.
Wireless headphones: More convenient and comfortable to use, but are prone to interference and dependant on batteries.
The Audio Technica ATH-M30x is a great budget option. It also offers a balanced frequency response and is comfortable to wear.
The Beyerdynamic DT770 PRO is another high quality option that doesn’t break the bank. It has great low end detail and it’s very comfortable to wear.
If you have a few bucks to spend, you can’t go wrong with the Sennheiser HD 650. These headphones are lightweight and comfortable, which makes them easy to wear for long periods of time. They have a wide frequency response and a warm, balanced sound that’s basically designed to capture the human voice.

Camera
While it’s true that audiences are more forgiving of lower quality video than audio issues, that’s no excuse to produce poor video. It’s important to invest in a good camera.
Is a smartphone sufficient? In some cases, sure. Modern smartphones don’t have recording limits beyond the device’s storage, even at max resolution. But they lack some of the key features you’ll want to produce video content, such as image stabilization and frame rate.
If you prefer a webcam, go with the Logitech Brio. I’ve used this one myself and like the crisp video, wide field of view (big enough for multiple people), and good adaptation to various lighting conditions.
The GoPro Hero 10 is a versatile, high-resolution action camera. This is a great option if you tend to podcast in different locations. The video stabilization is great for shooting while moving (if that’s your thing).
But the gold standard is a DSLR camera. The Sony Alpha a6000 and Canon EOS M50 are superb picks. They both offer super high quality images with a 24.3MP APS-C sensor, even in low-light situations, and highly responsive autofocus. The Panasonic LUMIX G7 is a similar option.

Lighting
Whenever people are on camera, it’s important to create a well-lit space. You can dramatically affect the mood of your show with your lighting choices.
You don’t need to spend a lot of money to light your video podcast studio properly. Your goal is to eliminate shadows and place soft and flat light on your subjects’ faces. Ideally, it’s best to use a three- or four-point light setup.
Key light: This is your primary light and your brightest. Place it about three feet in front of your subject and slightly off to the side.
Fill light: Place it opposite your key light and also slightly to the side. This light will eliminate any shadows created by the key light. The angel brings out details in the subject’s face. It should be 50-75% dimmer than the key light.
Backlight: This light sits behind the subject in order to separate the subject from the podcast background. It helps give the room a sense of space. Put it on the same side and angle as the key light, but higher.
Stream Yard (a live streaming and recording studio that runs in your browser) has a great guide on three-point lighting systems. Here’s what it looks like:

For gear, I like the NEEWER Lighting Kit because it has everything you need. The Fovitec 3-Light Kit is good too, but doesn’t include backdrops. If you want powerful lights, go with the GVM 3 Pack LED Video Lighting Kit.
Finding the right lighting takes some trial and error, but here are some more tips to get good light in your studio:
Block out unwanted light with blackout curtains or trash bags.
Ensure your equipment is out of your camera’s frame.
Single color walls are easier to light. Complex patterns are harder to light.
Be mindful of heat output on your subjects.
Adjust your lights until you’re happy with the result. If any of these best practices don’t suit your subject or space, feel free to break any rule.
Mounting
Depending on the type of equipment you use, it usually makes sense to pick up some mounting equipment, like tripods or shock mounts. These devices keep your gear secure and motionless so you can focus on creating content.
Fortunately, they aren’t that expensive, but I can recommend specific models because they have to fit with your chosen microphone, camera, and lighting.
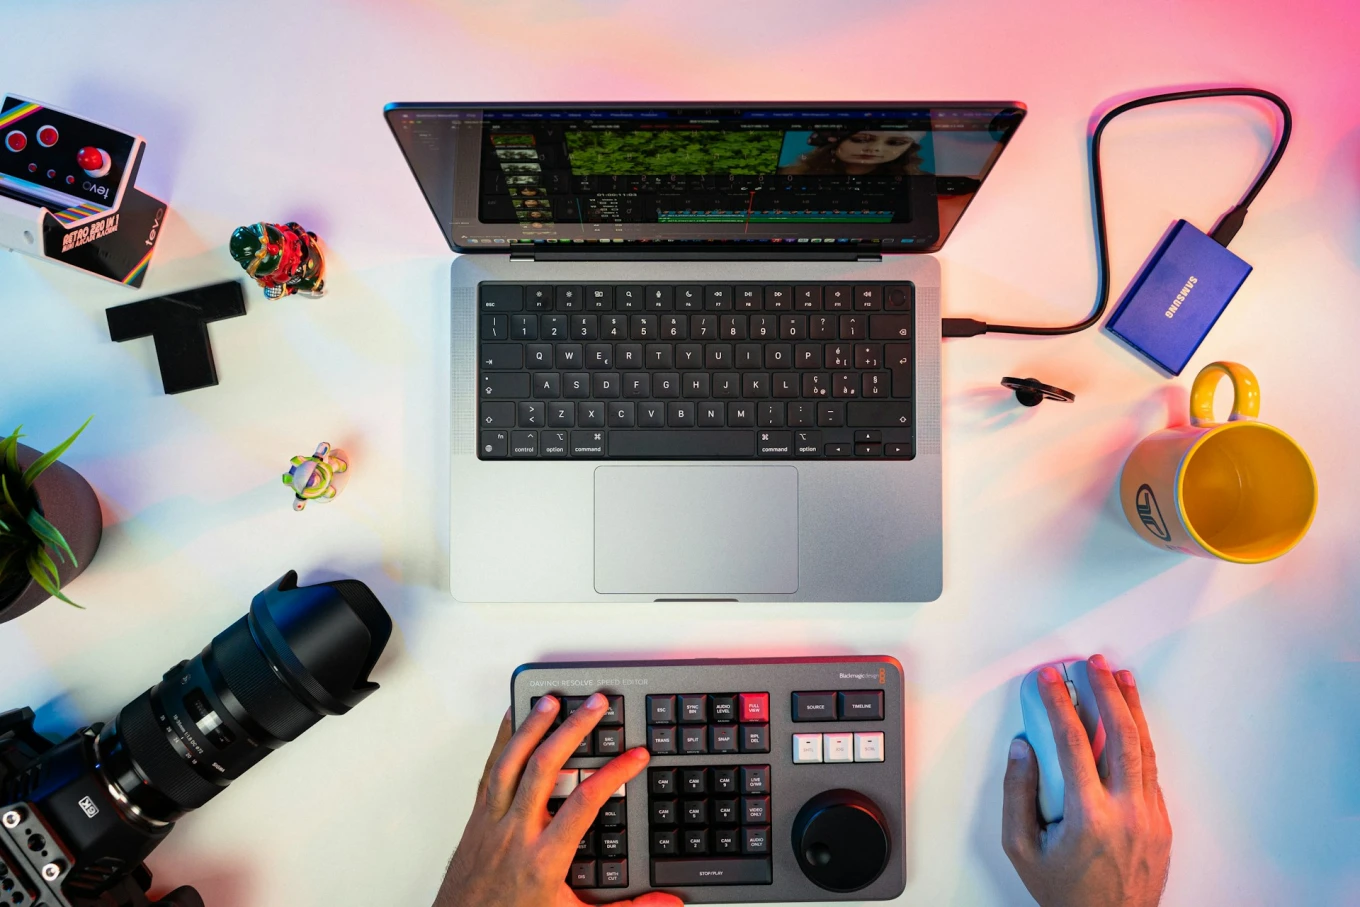
Recording Software
The final piece of the puzzle to your video podcast studio setup is the software you’ll use to capture your recordings.
Zoom is the most popular platform for this because 1) it’s a simple program to use, and 2) everyone seems to have it these days. (Skype used to be the go-to option, but its quality has fallen over the last few years.)
If you do a lot of remote recordings with guests who don’t podcast a lot, Zoom is a great tool to keep things simple for them. That said, there are better options.
In my opinion, it’s smartest to use an end-to-end platform that lets you record and edit your podcast, such as Riverside or SquadCast. This simplifies your workflow so you aren’t bouncing between apps and they record locally, so no one should be affected by poor internet connections.
Riverside can help you with everything from recording and live streaming to editing, repurposing and distribution.

Whatever you choose, make sure it lets you record each participant as a separate track. This gives you more control during post-production editing.
Your Recording Space
Now that you have your equipment for your YouTube podcast studio setup, let's consider the recording space itself. Since you’ll be on camera, so will your recording space, or at least part of it. This means there are two factors to consider: audio quality and aesthetics.
Audio Quality
It’s important to take your audio seriously. Some viewers might put up with lower resolution or inadequate lighting, but there’s something about bad audio that turns people off.
Yes, you can fix poor audio quality during post-production editing (to a degree), but it’s much easier to simply produce a better recording. A little preparation can save yourself a lot of work.
In your recording space, echoes and background noise are your mortal enemies.
You can reduce echoes by filling your space with soft, noise-absorbing materials. If you have the funds, add some acoustic paneling to your walls. These devices absorb sound so it can’t bounce back to your microphone.

If you don’t want to buy panels, simply line your walls with soft materials, like sheets, blankets, pillows, curtains, towels, or coats. These function the same way as acoustic panels, but they don’t look as cool, so you’ll want to keep them out of your video frame.
Reducing background noise is a challenge because you often don’t have control over it. You can’t stop that truck from driving by your window, for instance. But these tips will help:
Record in a place that’s away from foot or road traffic.
Turn off fans, heaters, or air conditioners that make constant noise.
Instruct anyone who works in the area not to interrupt you.
Close all doors and windows. Cover any gaps with towels or blankets.
Sit still and try not to make noise on your table or desk.
If a noise interrupts your recording, simply stop, wait for it to end, and then repeat yourself from some point before the interruption. During editing, you can just slice out the noisy segment.
Aesthetics
Unlike traditional, audio-only podcasting, a video podcast requires an aesthetically pleasing studio. Don’t worry! You don’t have to spend a lot of money or hire a designer.
First of all, you only need to dress up the portion of your studio that will be in your camera’s frame. If you’re podcasting remotely, this usually includes the space directly behind you. The rest of your room can be a mess and your audience will never know.
It gets a bit more complicated if you have an on-set co-host or guests. This usually requires a wider shot, which means more of your studio needs to be presentable.
When it comes to decor, choose a design that makes sense for your personality and your show. For example, the Inside of You podcast is about film, so their studio is decorated with movie posters.

The Just Trish Podcast uses a simple studio of just two chairs in a corner, but the colors and materials match her brand. Notice how her hairs and wall treatments also serve as sound absorbers.
Your Video Podcast Studio Setup
As you can see, your video podcast studio setup isn't much different from a traditional podcast, except for a few special editions. What's important, however, is that you design a studio that's right for you.
Make your space comfortable! It should be a spot you enjoy; somewhere you want to spend time. If you hate the space, you’ll struggle to make good content in it. But if you design something you love, that enjoyment will flow out through your content.
-modified.png")
Reviewer
Steven Bonnard
Head of Marketing
Hi, I'm Steven. I'm a globe-trotter who loves running long distances and listening to podcasts, especially from the news, politics and fantasy categories.


